Watercolour II:
Sketching with Ink & Watercolor
Online with Patricia Katz
Course Description
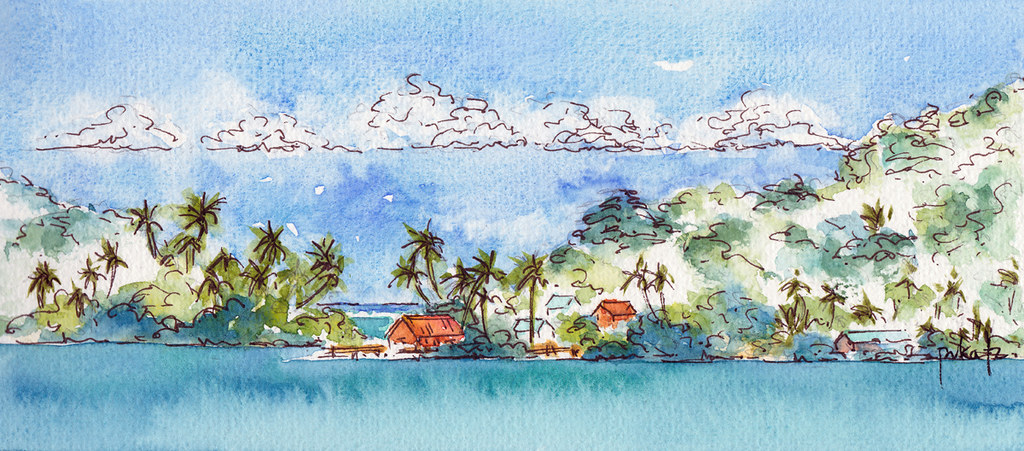
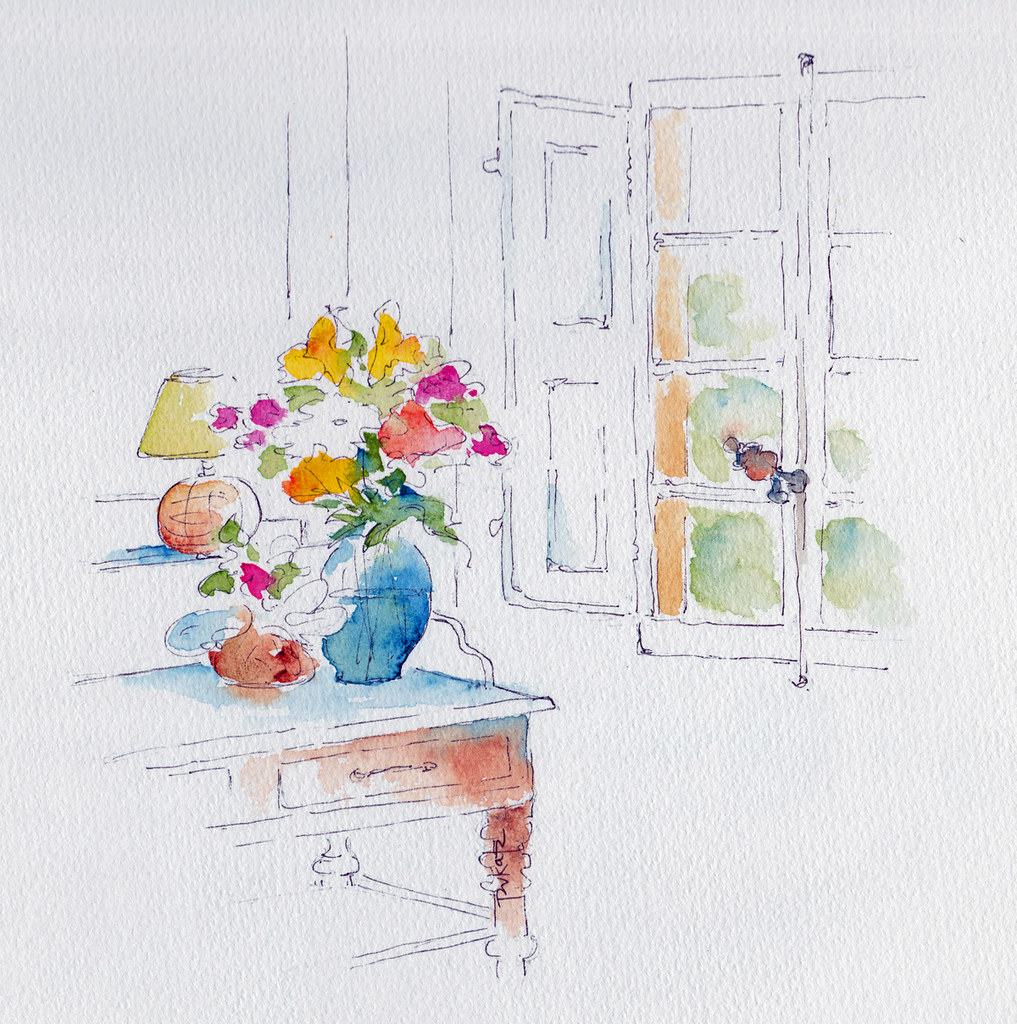
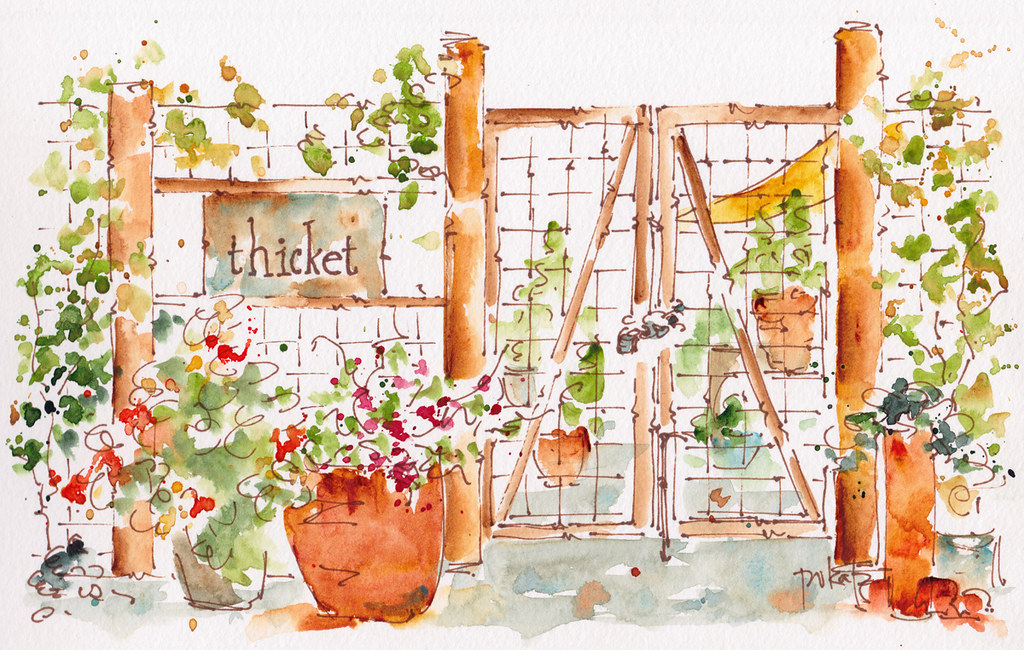
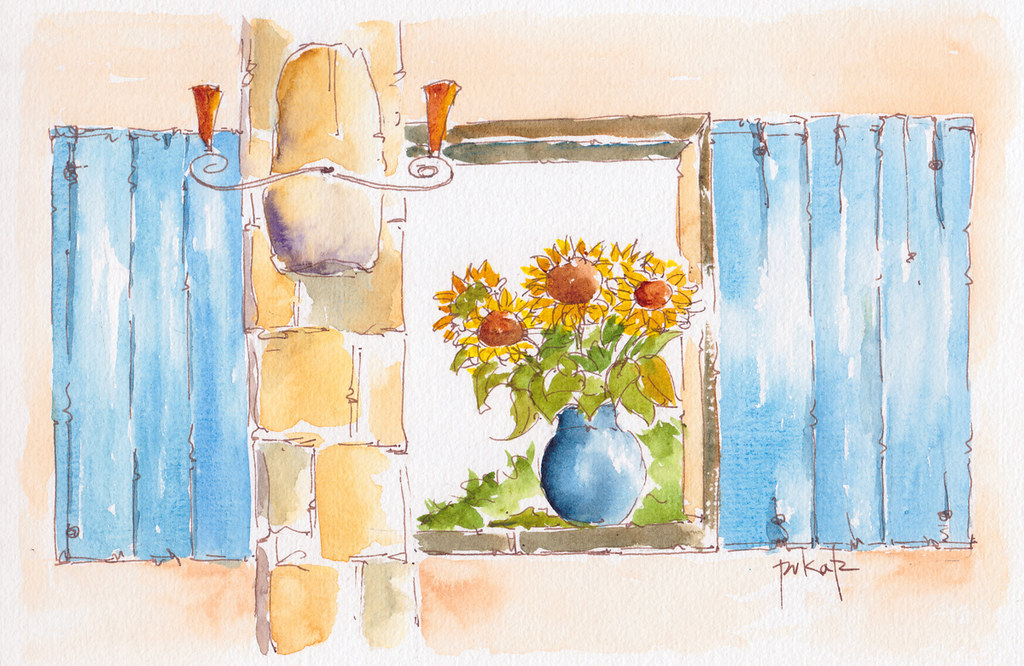
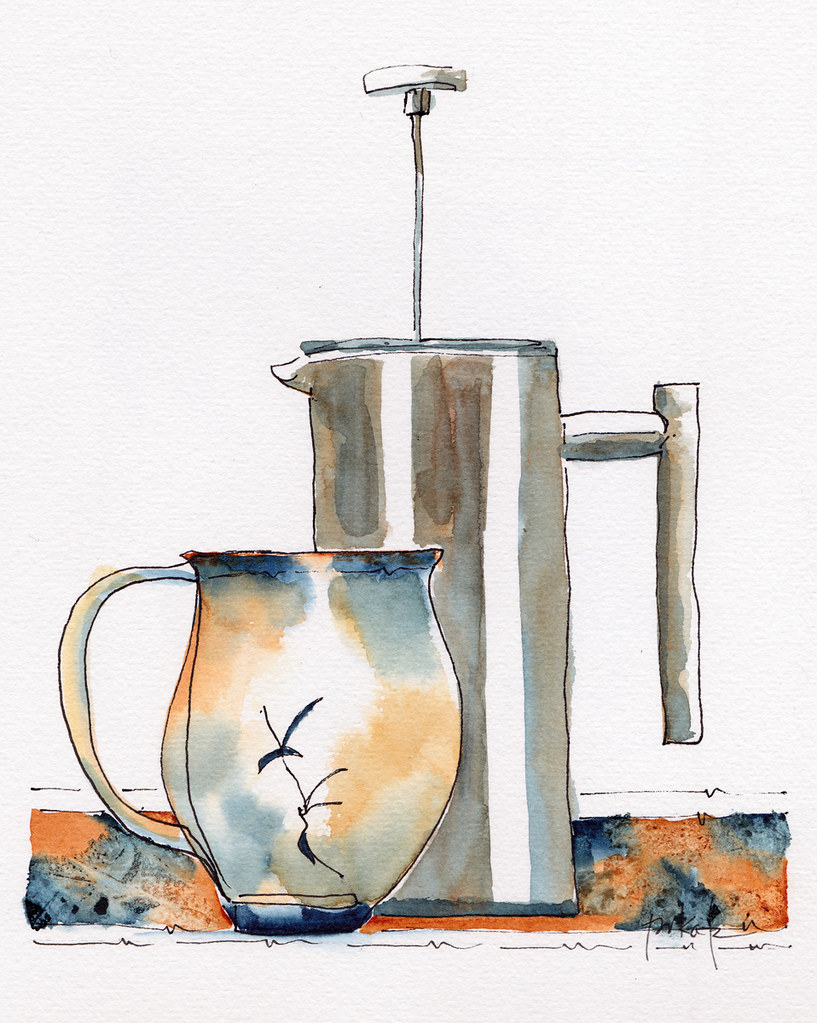
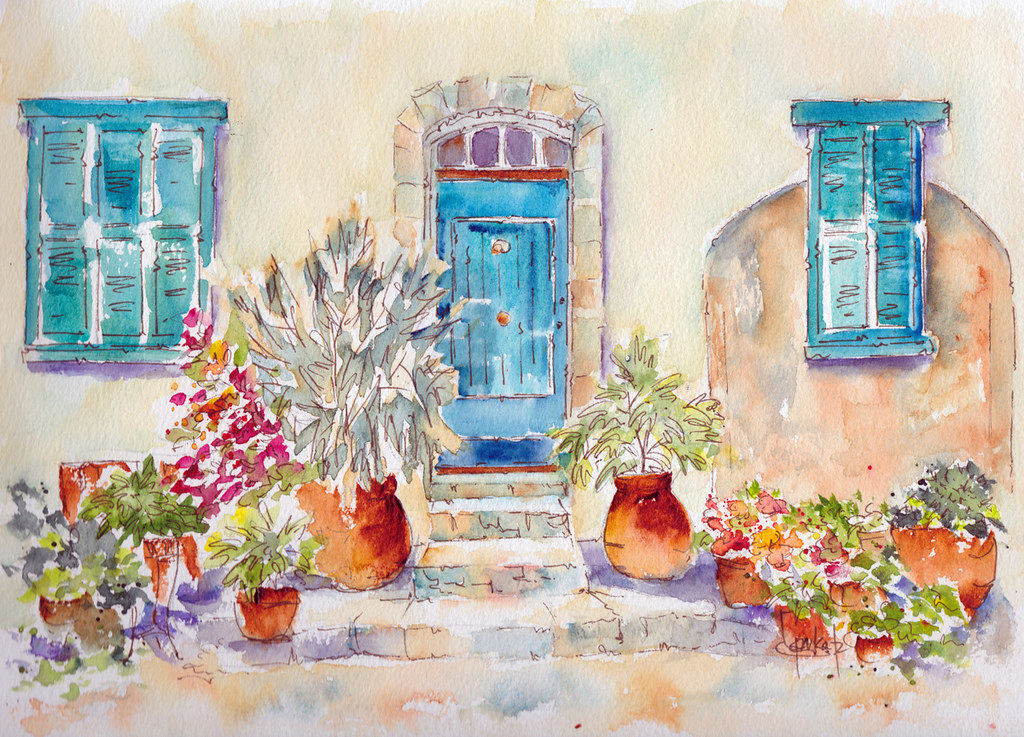
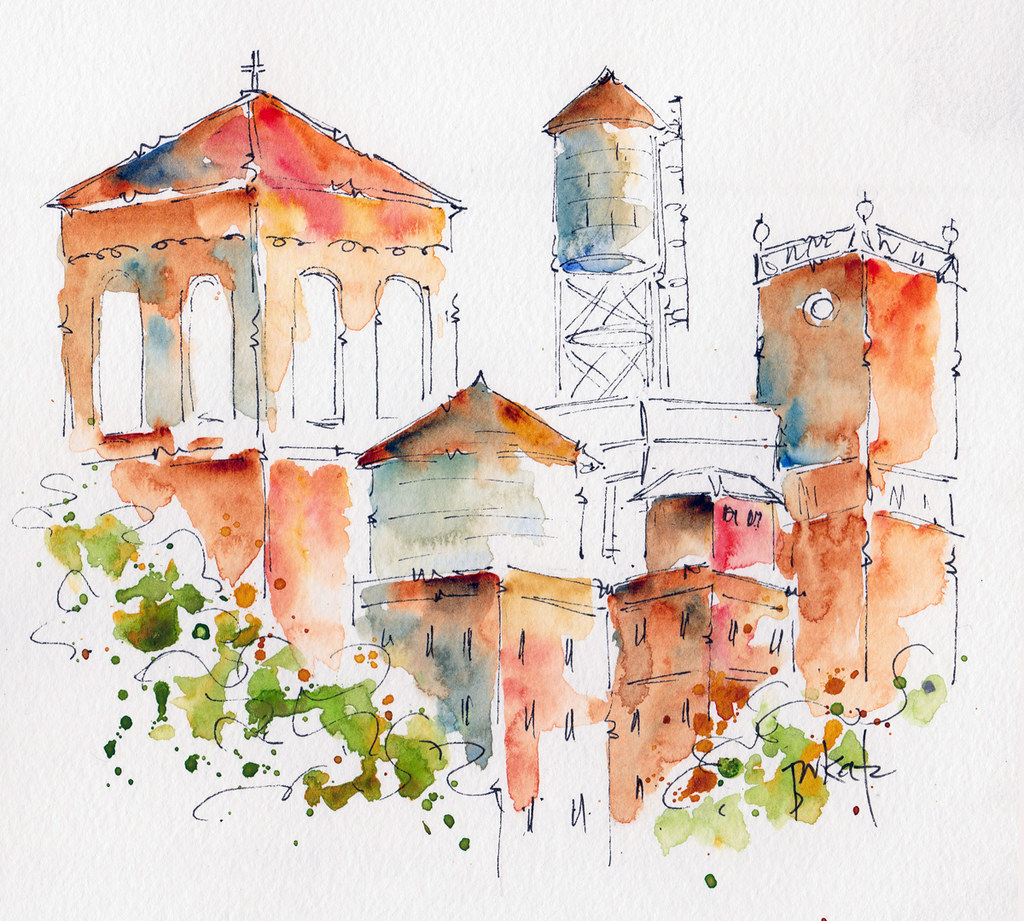
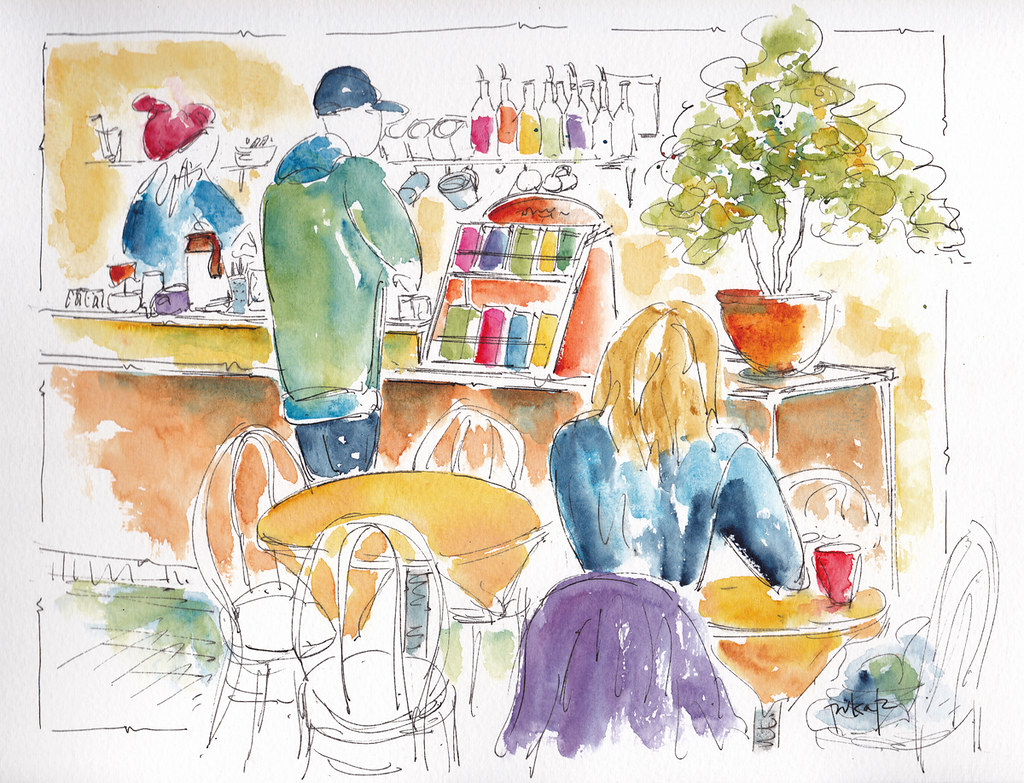
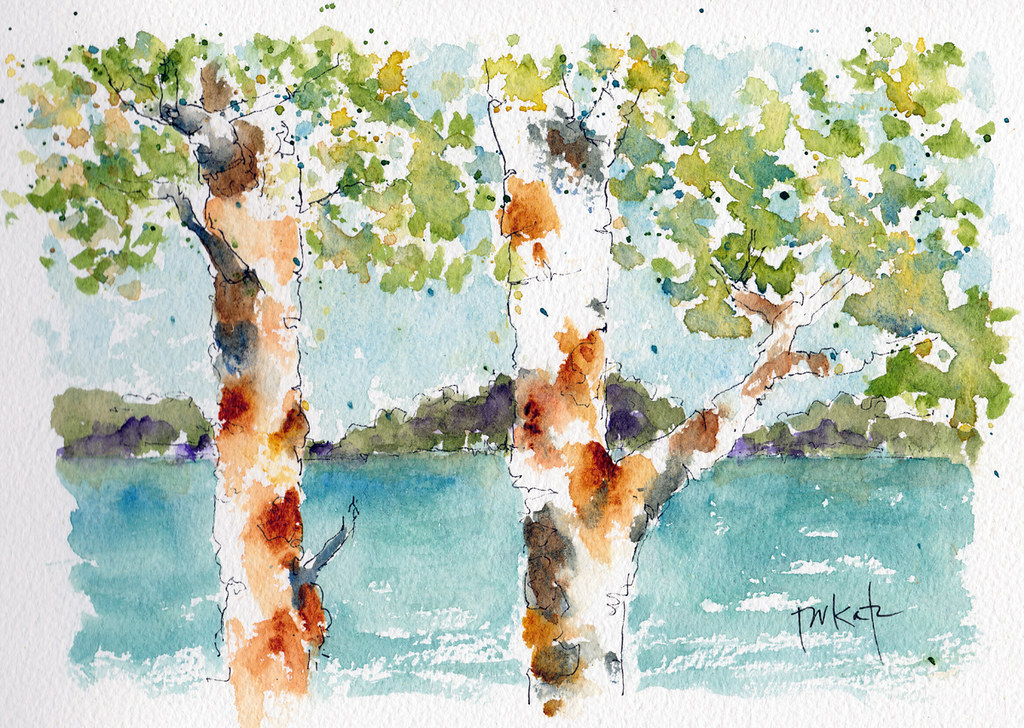
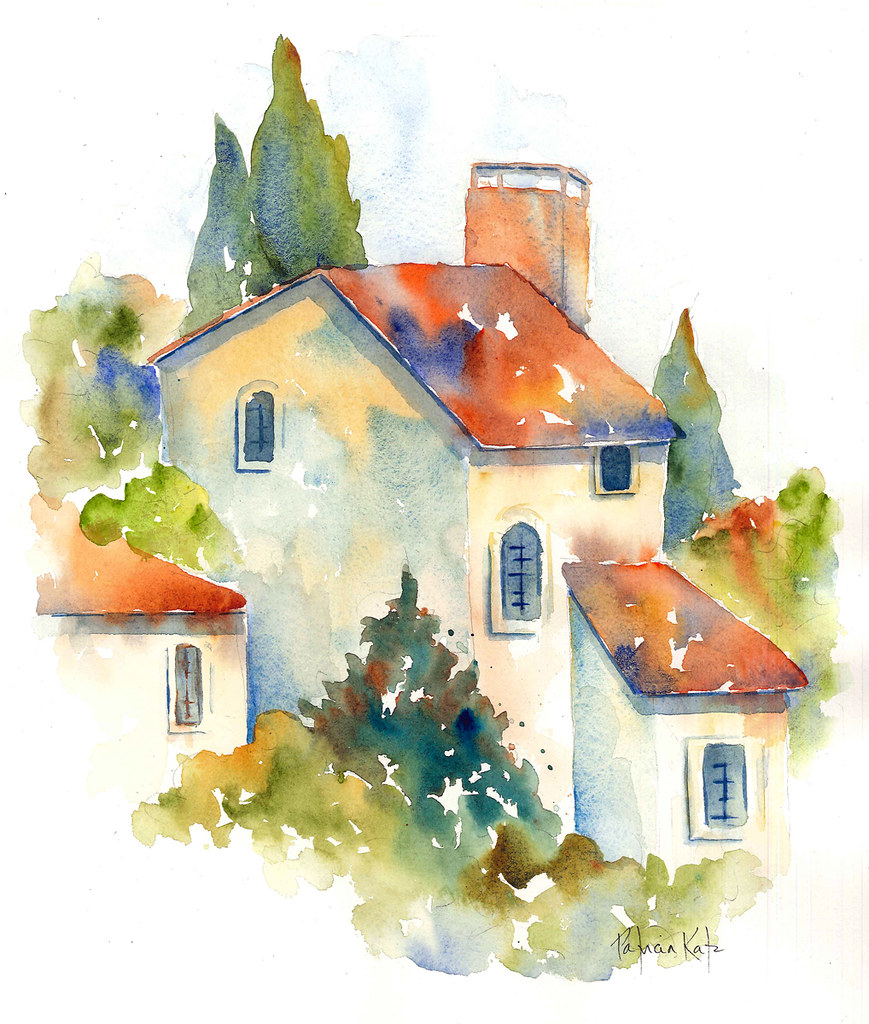
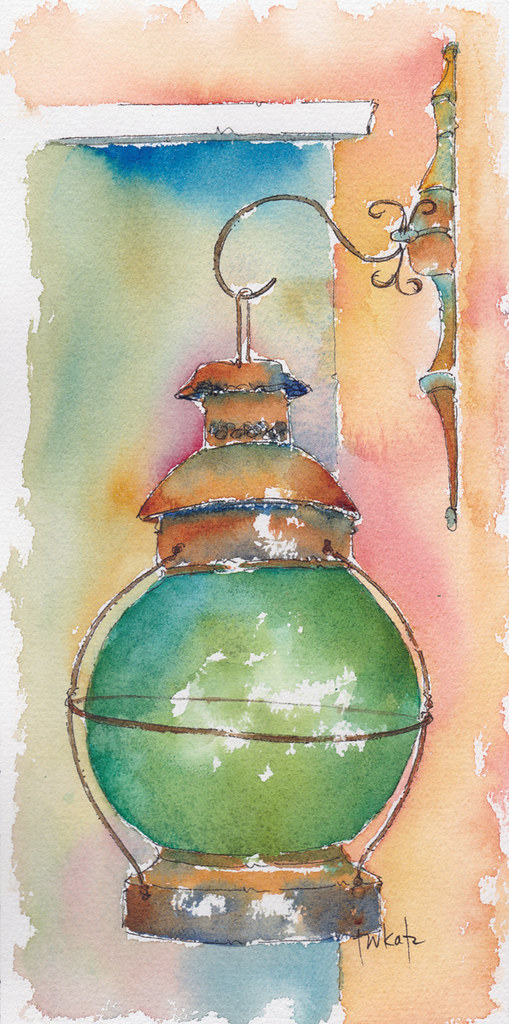
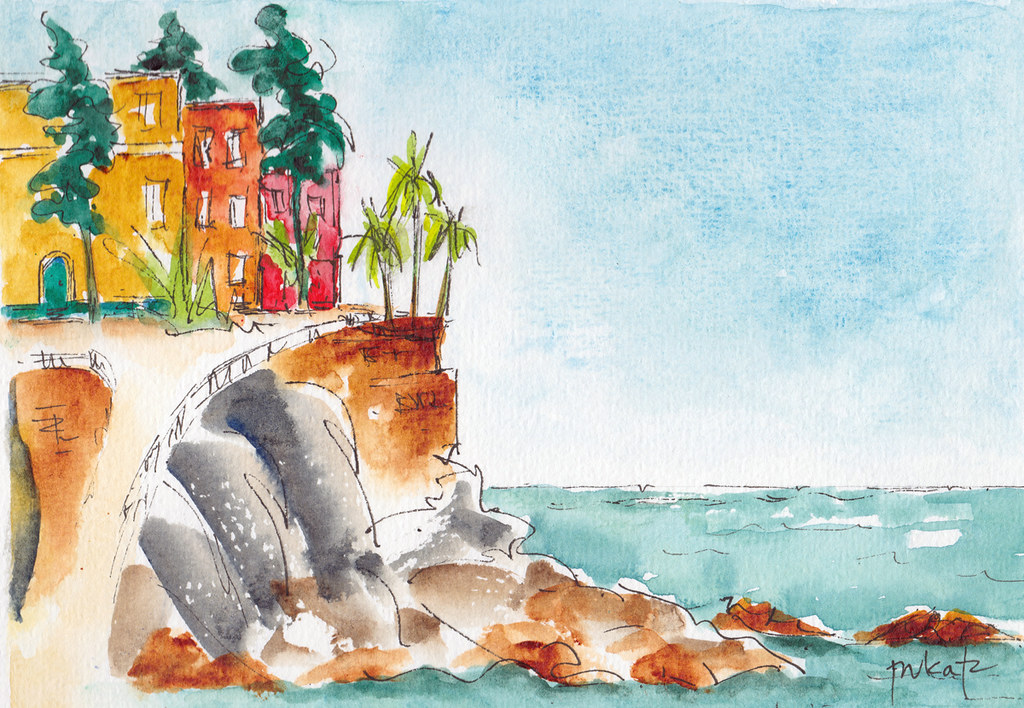
If you are drawn to expressive line work and lively colors and you’re keen to create images inspired by your everyday life experiences, this could be the class for you. Working with ink and watercolor on paper, you will engage in a series of ‘see & try’ experiences – brief demos followed by hands-on exercises and assignments. You will build a set of skills that will get you started capturing vignettes wherever you find them - from your own backyard to a street café halfway around the world.
Note: If this class is full, you can add yourself to the waitlist via the Register Now button below. Those who are on the waitlist will have first dibs on Pat's next class offering.
Course Fee: $280 (supplies not included)
Syllabus
- Cultivating the art of noticing as a way to breathe more life into your images
- Experimenting with dynamic lines to add variety and emphasis to your work
- Mixing and applying watercolors in ways that keep them fresh and lively
- Approaching a scene, exploring compositions, choosing your focus & completing a sketch
- Putting it all together - including specific tools and tips for sketching on the go
- Developing skills in critiquing your own sketches to keep growing as an artist
Supplies
Please wait until the course is confirmed before purchasing any supplies.
Watercolor Paper:
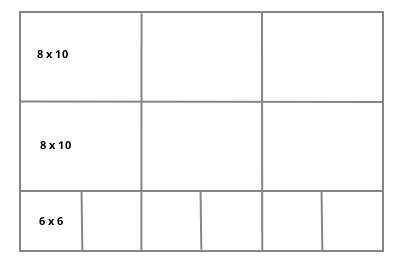
To start with, at least one 22x30 sheet each of Hot Press and Cold Press watercolor paper at least 140 lb or heavier. Arches and Fabriano are both good quality brands of paper.
Cut each sheet up into six 8x10 pieces and six 6x6 pieces. The template shown here will accomplish that:
- As the class goes along, once have a better idea of which type of paper you prefer for ink and watercolor work, you may want to purchase more of your favorite.
* Note: If you prefer not to purchase in larger sheets and cut down, you may purchase
instead :
- a 12 sheet pad of 8x10 Fabriano Cold Press Watercolor Paper 140 lb and a
12 sheet pad of Fabriano Hot Press Watercolor Paper 140 lb. Or Arches precut pads
Watercolor Sketchbook:
A portable sized sketchbook with paper specifically designed for use with watercolor (at least 140 lb paper) in a size that can easily be tucked into a tote bag or backpack. One of my favorites is the 7” x 10” Pentalic wire bound Watercolor Field Book – with 24 sheets of 140 lb paper with a Cold Press surface.
I’ve also enjoyed using these sketchbooks:
• Strathmore ring bound Visual Journal for Watercolor with 140 lb cold press paper in the 5.5 x 8.5” size
• Field ring bound Watercolor Journal from Speedball in 7” x 10” with 140 lb cold press paper
• Canson Montval Watercolor ring bound journal with 140 lb cold press in 5.5” x 8.5”
Drawing Paper:
A pad of inexpensive drawing paper (not watercolor paper) good for use with pencil and ink pen (8.5 x 11 or larger)
Watercolor Brushes:
• Several round WC brushes ranging in size from #6 to #12
• A 1 to 1.5 inch flat WC brush for washes
• A fritch scrubber about size #6 or any small size brush with hard short bristles. This will be used for lifting color.
Watercolor Paints:
The better your paints, the better your results. Winsor Newton, Daniel Smith and QOR are all excellent brands. For what we will be doing it will be much easier to work with squeezed out tube paints rather than pre-formed dry pans of pigments. Here is a list of some of my favorite pigments.
PLEASE NOTE: You DON’T need all of these colors, but be sure to include, at a bare minimum, a yellow, red and blue.
If you’re starting from scratch, the eight I’ve starred in the list are usually my ‘go-to’
pigments and they make a versatile starting set:
• Hansa Yellow Medium *
• Quinacridone Gold *
• Raw Sienna
• Transparent Orange
• Scarlett Lake *
• Permanent Alizarin Crimson *
• Permanent Rose
• Quinacridone Burnt Orange (or Burnt Sienna) *
• Cobalt Blue *
• Cerulean Blue
• French Ultramarine Blue
• Prussian, or Manganese, or Phthalo Blue *
• Sap Green
• Serpentine Green*
• Perylene Green
• Burnt Umber
Pens:
• Several waterproof permanent Black Ink Pens – size 03, 05, and 1.0 will give you quite a bit of variety (Copic Multiliner or Micron Pigma or Mitsubishi UniPin Fine Line are all good brands)
• One waterproof Pigma Graphic 2 black pen (this has a chisel tip for calligraphy style mark making)
Other Supplies
• Palette – If you already have a palette, use that. If you are wanting to keep it simple to start, a plain flat white plate (10” or so) would work to squeeze paint on and use for a palette. If you are starting from scratch and want to invest in a palette you can use in your studio and also on the go, the Heritage
18 well paint palette is versatile. Towards the end of the class, I’ll be showing you more about other palette options for travelling/working outdoors.
• Support Board – on which you will tape your wc paper. Masonite panel or firm corrugated plastic or coroplast or plexiglass. Choose a size that’s a couple of inches larger in each direction than the paper you plan to use (i.e. –11 x 14 or bigger)
• Pencil (mechanical 0.5 or regular HB pencil)
• A kneaded eraser
• Small spray bottle for water (Approximately 3-5” tall version is great – must be one that sprays a very fine mist)
• Water containers ( two 500 ml sour cream containers will work just fine )
• Roll of paper towel
• Box of Kleenex (tissues without any lotion in them)
• Masking tape (3/4” – 1” width) to use to tape wc paper to backing board
• Something to rest the top of your support board on to provide a slight slant to your working surface. A low box of Kleenex or a short length of a wooden 2 x 4 or something similar would work just fine.
• A standard 1-1.5” size 3-ring binder with loose-leaf (8.5 x11) to make notes. Weekly pdf handouts will be provided to print and insert in your binder as we go along. I encourage you to insert the sample activities and exercises completed throughout the class to create your own set of references.
Items To Draw:
During our contour drawing exercise in Weeks One & Two we’ll be drawing single items and then groups of two or three items. Bring 4-5 objects to class each week that you can use for this purpose.
Choose a few SIMPLE items that catch your eye around your home or office: coffee mug, plant, vase, tool, stapler, flashlight, teapot, decorative ornament, bottle, etc. Nothing too complicated to start.
FOR WEEK TWO, please have on hand a simple flower – a Gerbera daisy, or a chrysanthemum, or a single lily – anything like that will do.
Inspiration Photos:
As we move further into the class, I will be providing photos that you can use as references. However, it
would be helpful for you to start collecting your own set of photos of scenes and images to work with –
things that are meaningful for you. Try for a variety of images – some close ups of details and others distanced views – streetscapes, buildings, landscapes, gardens, still life objects, etc.
Be sure to bring a sense of curiosity & a spirit of discovery!
Download a PDF version of the supply list for this course HERE
For a brief list of frequently used suppliers, please see Where can I purchase supplies? on our FAQ page.